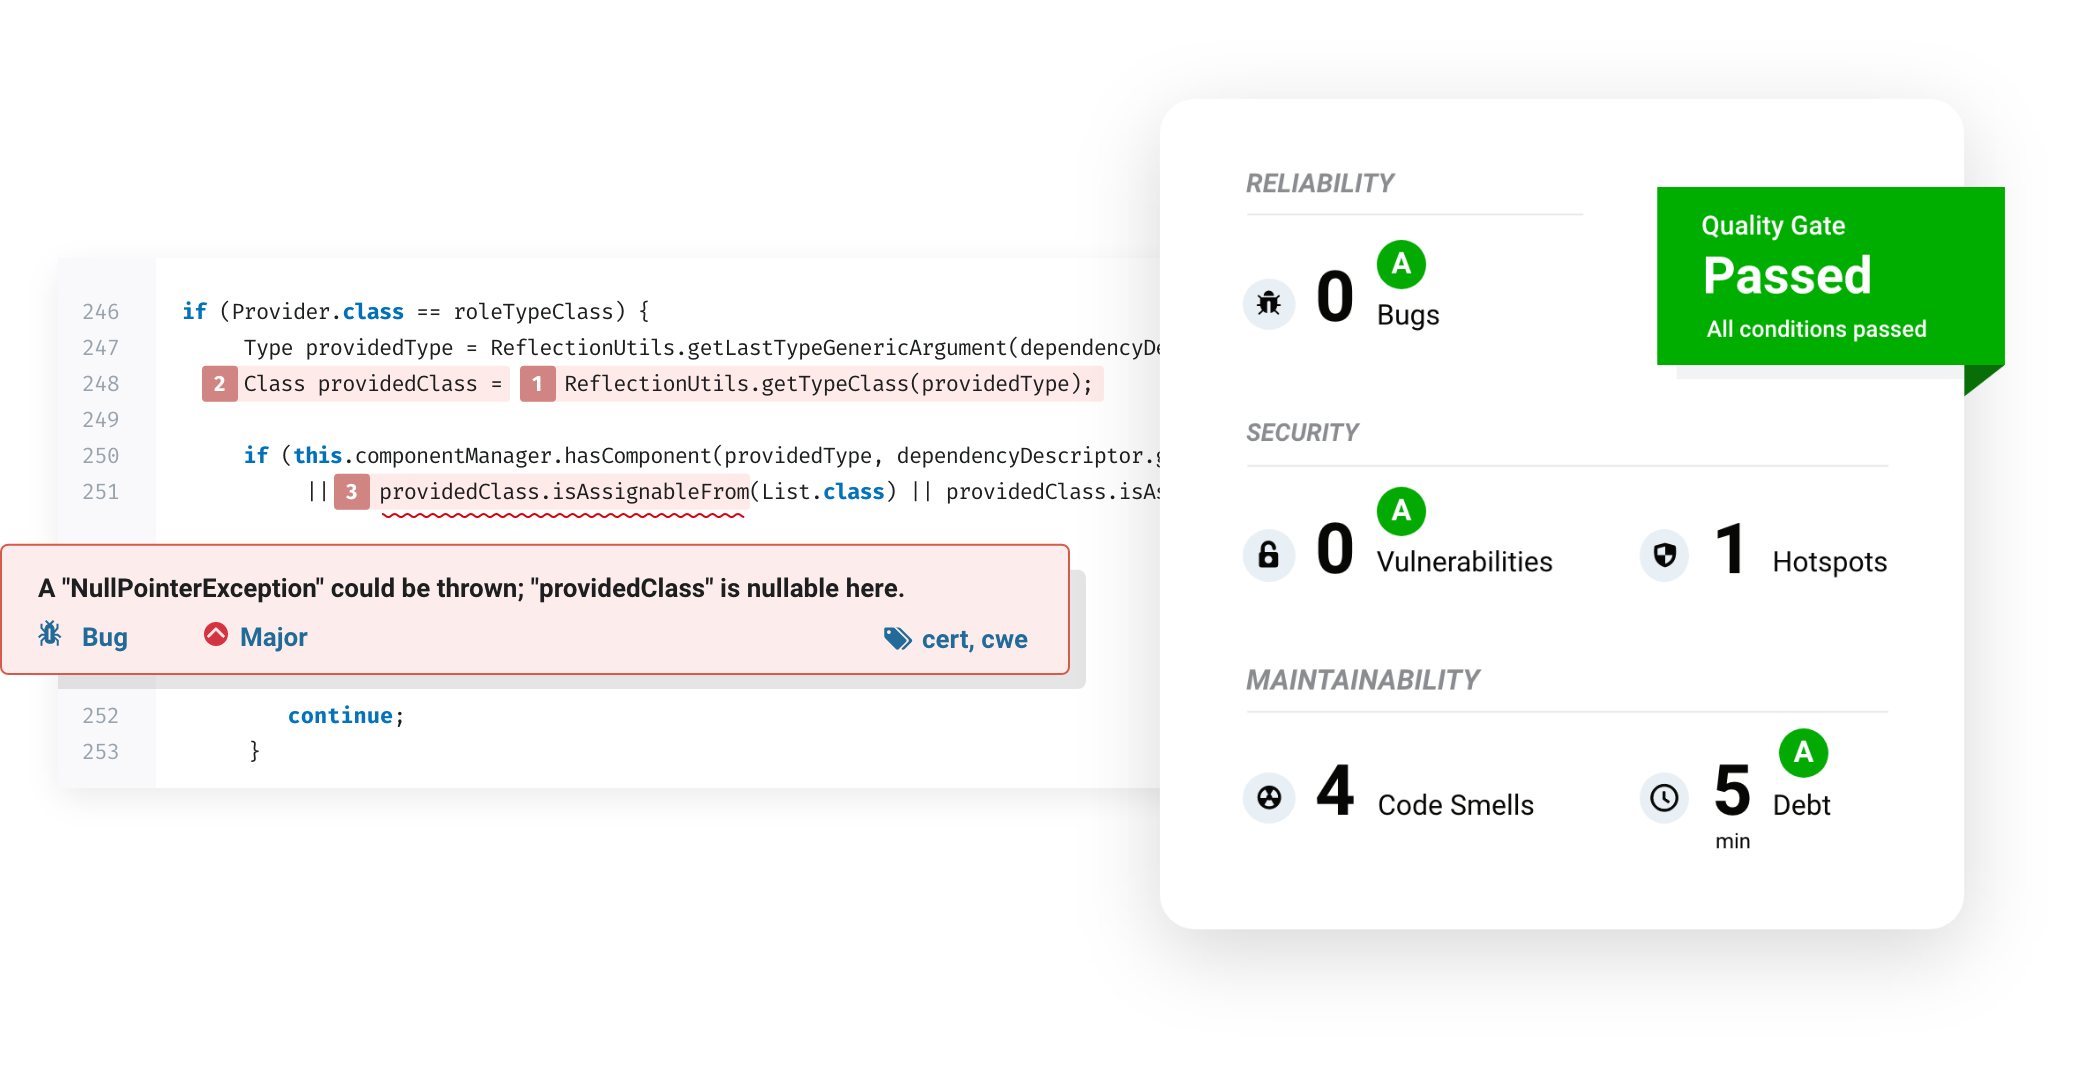
SonarQube is a popular open-source tool for code inspection of code quality and security. It has support for many of the popular languages. Developers can use the tool to find issues, vulnerabilities and techical debt in their code automatically so that they can easily maintain it and ultimately improve the stability and experience that users have with the system.
…
In order to follow these steps, it is assumed that you have:
- Helm client installed
- A remote Kubernetes cluster with permission to connect to it
The provider of SonarQube is SonarSource and they kindly provide a helm chart which makes it very easy to install and customise a self-hosted instance of SonarQube on Kubernetes. Just with this chart, the installation becomes almost as easy as selecting an outcome from a catalog like in a conventional Software-as-a-Service (SaaS). The high-level steps are to:
- Download the helm chart repository for SonarQube
- Customise the variables (if desired)
- Install the helm chart
- Access the SonarQube Web UI
Download
Let’s download the official sonarqube helm chart.
helm repo add "sonarqube" "https://SonarSource.github.io/helm-chart-sonarqube"
If we previously added the sonarqube repository, we can use the following command to make sure we have the latest charts available from all upstream chart repositories.
helm repo update
Customise
For a very simple proof of concept setup, you may be able to get away without having any customisations. But usually, you would require at least some customisations for the purpose of security, DNS and the ingress to Kubernetes.
The full list of available values can be found in the upstream repository.
We will describe some recommended customisations to include in your values.yaml.
If you want a route into SonarQube from outside the Kubernetes cluster, you’ll need an Ingress. This is typically achieved by the ingress provisioning an external load balancer on your cloud provider. Below is an example ingress configuration for the SonarQube values.yaml. If you want the DNS and certs to be automatically provisioned, you can add additional annotations as per the capabilities of external-dns and cert-manager.
ingress:
  enabled: true
  hosts:
    - name: sonarqube.k8s.yourcompany.com
      path: /
      pathType: ImplementationSpecific
  annotations:
    # annotations go here
    # e.g. external DNS or cert manager annotations
A monitoring passcode needs to be defined in order to get reasonable probe results, this can be set to anything you want:
monitoringPasscode: "define_it"
As a stateful service, you will requre some persistence configuration. You should tune this according to the maximum storage size you’ll need. Be sure to change the postgresqlPassword.
persistence:
  enabled: true
  storageClass: default
  size: 5Gi
postgresql:
  enabled: true
  postgresqlUsername: "sonarUser"
  postgresqlPassword: "sonarPass"
  postgresqlDatabase: "sonarDB"
  persistence:
    enabled: true
    accessMode: ReadWriteOnce
    size: 20Gi
    storageClass: standard
Finally, choose a desired admin password. You’ll probably change it later or, setup SSO but it’s worth having something other than the default of admin.
account:
  adminPassword: admin
  currentAdminPassword: admin
Install
Once you’ve customsied your install with a values.yaml, you are ready to deploy with helm. We are going to call our instance sonarqube-dev and we are going to use the latest sonarqube chart.
helm install -f values.yaml sonarqube-dev sonarqube
Access the SonarQube Web UI
If you setup ingress with external DNS and cert manager annotations, you should be able to access the console from the desired hostname after a couple of minutes. If you didn’t use the annotations, you’ll need to manually setup the DNS and certificates.
Alternatively, if you are just trying it out and didn’t customise the values to setup an ingress at all. You can access the console through port forwarding in Kubernetes. The below command can be used to map port 9000 on localhost to the same port of the service within the Kubernetes cluster.
kubectl port-forward svc/sonarqube-sonarqube -n sonarqube 9000:9000
open http://localhost:9000
.